
Make a Wish mile a minute texture card

When you start with a classic layout like this one you can make many, many of them so quickly. In honor of one of my favorite quick crocheting afghan pattern, I call this the mile a minute card. You can change the look of the card just by changing the colors used or changing the texture of the bottom panel. Use ribbon to separate the panels or use a strip of cardstock. Use what you have on hand.
Cardbase (Pool Party) 8 1/2" x 5 1/4", folded in half along the 8 1/2" side for a left hinge cardfront
Background piece (Whisper White) 4" x 5 1/4"
Accent piece (Bermuda Bay) 4" x 2 1/2"
Embellishment - 1/2" Black Sating Ribbon, approx 5"
Stamp the greeting using Bermuda Bay ink on the top portion of the background
Run the Bermuda Bay piece through the Big Shot with the Dot to Dot Embossing Folder.
Adhere the textured piece to the bottom portion of the background piece.
Cover the seam with ribbon. Attach the ribbon on the back using Glue Dots.
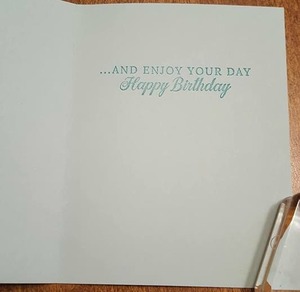
Stamp a greeting inside the card using the Bermuda Bay ink.
Tip: Stamp this BEFORE you attach the background piece to the front. You want to do this because if you happen to not have the best stamping effort you can flip the card front around and it will be covered by the assembled card front.
Attached the combined background with texture and ribbon to the front of the card using SNAIL.
 Life Is Grand Cling Stamp Set
148744
Life Is Grand Cling Stamp Set
148744
 Pool Party 8-1/2" X 11" Cardstock
122924
Pool Party 8-1/2" X 11" Cardstock
122924
 Whisper White 8-1/2" X 11" Cardstock
100730
Whisper White 8-1/2" X 11" Cardstock
100730
 Bermuda Bay 8-1/2" X 11" Cardstock
131197
Bermuda Bay 8-1/2" X 11" Cardstock
131197
 Bermuda Bay Classic Stampin' Pad
147096
Bermuda Bay Classic Stampin' Pad
147096
 Black 1/2" (1.3 Cm) Satin Ribbon
146280
Black 1/2" (1.3 Cm) Satin Ribbon
146280
 Dot To Dot Textured Impressions Embossing Folder
148533
Dot To Dot Textured Impressions Embossing Folder
148533

 Snail Adhesive
104332
Snail Adhesive
104332